
Padel Training at Home: 12 Drills Without a Court
Twelve practical padel drills for small spaces, with no-wall options, wall practice, strength work and complete 15- and 30-minute sessions.
GuideBy PadelFormat Editorial TeamPublished Updated 13 min read
Quick answer
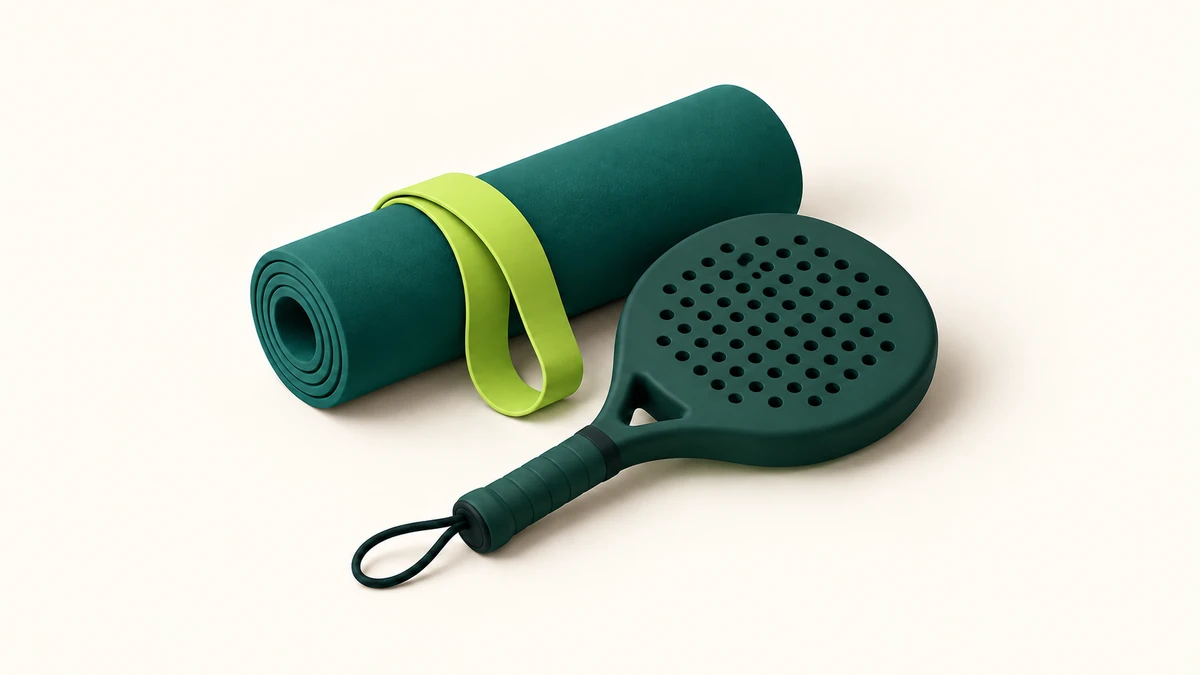
You can train useful parts of padel at home with no court in sight. Racket taps, compact shadow swings, short lateral footwork and basic strength work all fit into a small space. A suitable wall adds groundstroke and volley practice. Glass rebounds, live lobs, overheads and partner positioning still need a real court.
TL;DR
- Racket taps, shadow swings, split-step cues, lateral marker drills and a shadow serve all work in a small apartment-safe space.
- A suitable outdoor or damage-resistant wall adds groundstroke and volley practice, using a foam or low-compression ball indoors.
- Home work builds ball feel, earlier preparation, a shorter swing path, first-step movement, lateral recovery and general strength.
- It cannot reproduce glass rebounds, live lobs, overheads, partner movement or tactical decisions under pressure.
- Use stable shoes on a non-slip surface, a foam ball indoors, and stop any full-speed serve or smash indoors.
- Two ready-made sessions, 15 minutes quiet and 30 minutes with a wall, cover all twelve drills.
- Track a number each session, such as consecutive contacts or target hits, and change only one variable at a time.
On this page
Equipment and space at a glance
Start from the space you have rather than the drill you like. Everything marked apartment-safe below works with a foam or low-compression ball, little floor area and no wall contact. The wall rows need an outdoor or damage-resistant surface and permission to use it.
| Training goal | Drill | Space needed | Equipment | Noise level |
|---|---|---|---|---|
| Ball feel and racket-face control | Alternating racket taps | 2 × 2 m, ceiling above racket height, apartment-safe | Racket, foam or low-compression ball | Low |
| Repeatable contact point | Bounce, guide and catch | 2 × 2 m, apartment-safe | Racket, foam or low-compression ball | Low to medium (one bounce) |
| Compact swing path | Shadow forehands and backhands | 2 × 2 m clear of furniture, apartment-safe | Racket only, mirror or phone optional | Silent |
| First-step movement | Split-step on an audio cue | 1.5 × 1.5 m on a non-slip surface, apartment-safe | Timer or metronome app | Medium (footfall) |
| Lateral recovery | Three-marker lateral recovery | 3 m width, apartment-safe with care | Three freestanding markers | Medium (footfall) |
| Serve movement and balance | Shadow serve and first-volley position | 2 × 3 m, apartment-safe | Racket only, no ball | Silent |
| Groundstroke rhythm | Compact wall rally | 4 m from a suitable wall, outdoor or damage-resistant | Racket, ball suited to the surface | High |
| Volley block and control | Wall volleys and push-volley targets | 3–4 m from a suitable wall, outdoor or damage-resistant | Racket, ball, removable tape target | High |
| Leg strength and control | Lower-body circuit | 2 × 1 m, apartment-safe | None, chair optional | Low |
| Trunk and shoulder control | Resistance-band and trunk circuit | 2 × 1 m, apartment-safe | Mat, resistance band, fixed anchor point | Low |
What home training can and cannot improve
Practised regularly and slowly enough to notice your own errors, home work helps with:
- Ball feel, so the racket face stops being a mystery.
- Earlier racket preparation before the ball arrives.
- A shorter swing path with contact in front of the body.
- Hand-eye coordination through repeated contacts.
- First-step movement out of a ready position.
- Lateral recovery back to a starting point.
- General leg and trunk strength.
- The chance to slow a movement down enough to actually see your own mistakes.
It does not reproduce the parts of padel that depend on another person, a full-size court or glass:
- The timing of an opponent's shot.
- Back- and side-glass rebounds.
- Full court distances.
- Partner movement.
- Tactical decisions made under pressure.
- Live lobs, bandejas and smashes.
Treat this as maintenance between sessions rather than a substitute for court time or qualified coaching. If you are learning the basics, our beginner tips guide covers what to do in your first sessions on court.
Before you start
Safety checklist
- Clear furniture, lamps, windows, pets and other people out of the swing area.
- Check ceiling height before you raise a racket.
- Use a foam or low-compression ball indoors.
- Only hit a normal padel ball against a suitable wall in a safe area.
- Do not hit full-speed serves or smashes indoors.
- Wear stable shoes on a non-slip surface. Skip fast lateral drills in socks on a smooth floor. That is how ankles get hurt.
- Use removable tape or freestanding markers instead of damaging a wall or floor.
- Start with controlled movement and only add speed once the space still feels safe.
- Stop if anything causes sharp pain, dizziness or unusual shortness of breath.
- If you're returning from injury, restarting exercise after a long break, or managing a medical condition, get professional advice first.
Quiet drills without a wall
These six need no wall, no partner and very little room. They are the ones to keep if you live in a flat or train late in the evening.
1. Alternating racket taps
Stand in a clear square roughly two metres a side with the ceiling well above your raised racket. Use a foam or low-compression ball indoors.
Tap the ball upward off one racket face and keep it going. Once that's steady, alternate faces so the racket turns between contacts.
Work in three rounds of 30 seconds with a short rest between. Keep the ball below head height throughout. That keeps contact controlled and takes the ceiling out of the equation.
- Cue
- Contact flat in the middle of the strings, wrist quiet, small movement from the forearm rather than the shoulder.
- Target
- Count controlled contacts, not the highest bounce. Twenty in a row on one face, then twenty alternating, is a solid working level.
- Avoid
- Hitting the ball high to buy recovery time. That trains a reach and a lunge, not racket-face control. This is a ball-feel drill, not a reaction drill.
2. Bounce, guide and catch
Same space, same ball. You need enough room for one bounce and a short step forward.
Drop the ball, let it bounce once, guide it upward with a compact forehand and catch it in your free hand. Repeat the same sequence on the backhand side.
Do two sets of ten controlled contacts per side.
- Cue
- Meet the ball in front of your body at roughly waist height, with the racket already prepared before the bounce.
- Target
- Ten contacts per side where you catch the ball without moving your feet backwards.
- Avoid
- Letting the ball drift beside or behind you and then scooping upward. The point is a repeatable contact point, so reset rather than rescue.
3. Compact shadow groundstrokes
No ball. Stand where the racket can travel freely on both sides, ideally facing a mirror or with a phone recording from the side.
Play slow forehands and backhands: turn the shoulders early, take a short preparation, imagine contact in front of the body and finish in a controlled direction.
Eight slow repetitions each side is enough. Speed hides errors, so keep it deliberately slow.
- Cue
- The racket head should stay inside your shoulder line during preparation.
- Target
- Eight repetitions per side where the recording shows the racket staying in front of the shoulder line.
- Avoid
- Assuming repetition alone fixes the stroke. Shadow swings just reinforce whatever shape you already have, which is why watching the replay matters more than the count. Changing technique still needs a coach or a lesson.
4. Split-step on an audio cue
A non-slip surface, stable shoes and about a metre and a half in each direction. Set a repeating timer, a metronome or a randomly spaced audio cue.
On each cue make a light split-step, push once to the left or right, then return to the ready position.
Work in rounds of 20 to 30 seconds with enough rest that the movement stays controlled.
- Cue
- Land softly with the feet roughly shoulder width apart and the weight forward, not on the heels.
- Target
- Three rounds where every landing is quiet and balanced.
- Avoid
- Turning it into a jumping workout. Once the landings get heavy, you're training fatigue, not movement.
5. Three-marker lateral recovery
Place three freestanding markers in a line (left, centre, right) with about a metre and a half between them.
Start at the centre marker, move out to one side, simulate a compact stroke, then recover to the centre. Alternate directions.
Four rounds of 20 seconds is a reasonable start.
- Cue
- Short adjustment steps, chest facing forward, no crossing of the feet on the first movement out.
- Target
- Complete each round with a balanced stop at every marker and a clean return to the centre.
- Avoid
- Lunging out with one long stride. It looks faster but leaves you unable to recover, which defeats the point of the drill.
6. Shadow serve and first-volley position
Two to three metres of clear floor. No ball if space is tight.
Go through the underarm service motion (bounce, contact below waist height, controlled follow-through), then move forward under control, stop in a balanced ready position and prepare the racket for the next ball.
Eight repetitions from each serving side.
- Cue
- Stop moving before the imaginary return arrives rather than walking through the split-step.
- Target
- Eight repetitions per side finishing balanced, with the racket up.
- Avoid
- Practising an overhead throwing action. The padel serve is underarm, struck at or below waist height, so an overhead motion just trains the wrong shot.
The stroke shapes behind these drills are explained in our guide to padel technique, and each individual shot is described in padel shots explained.
Drills using a suitable wall
7. Compact wall rally
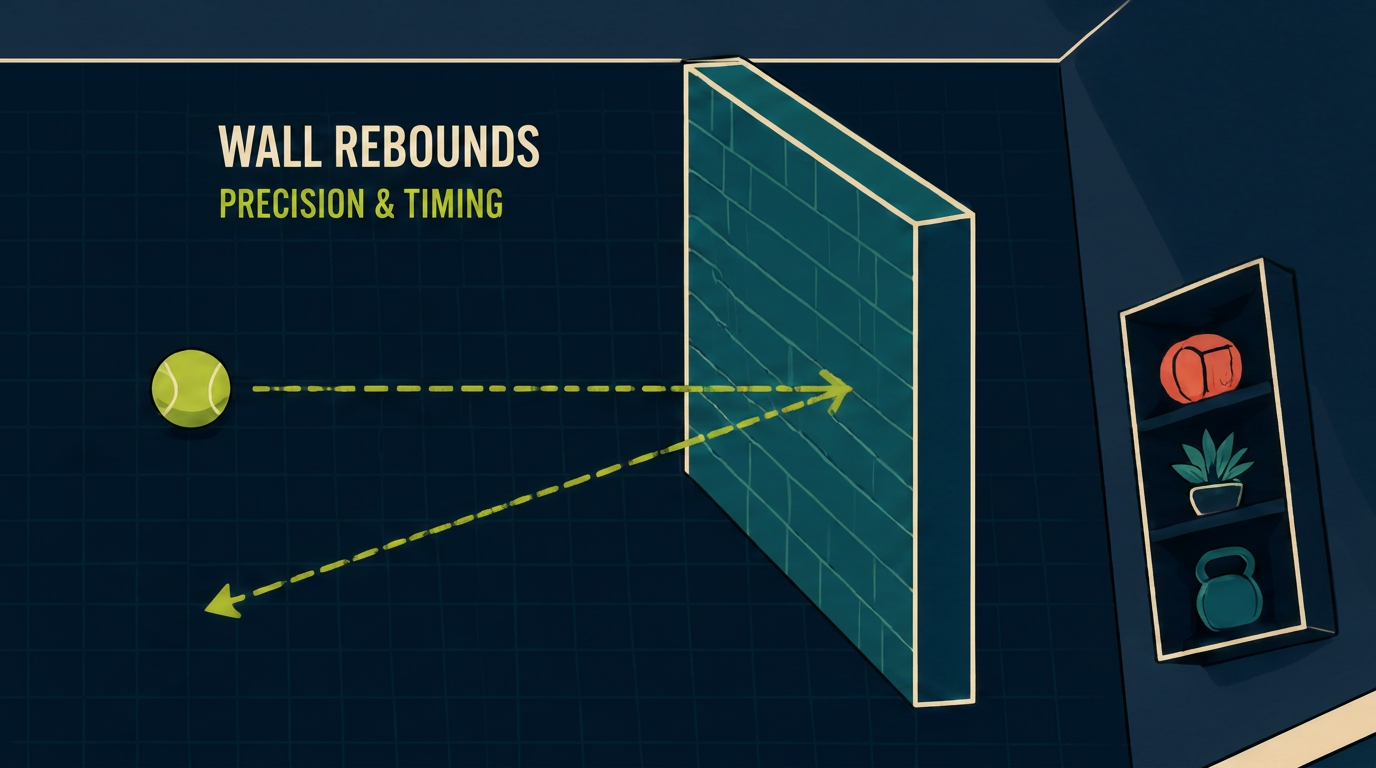
A solid, damage-resistant wall with about four metres of clear space in front of it. Use a foam, low-compression or normal ball depending on the surface and surroundings.
Hit controlled shots on one side only to begin with: all forehands, then all backhands in a separate set.
Build up to 20 consecutive controlled rebounds before adding any pace.
- Cue
- Short backswing, contact in front, and enough distance from the wall that the rebound arrives at a comfortable height.
- Target
- Twenty consecutive rebounds on each side without stepping backwards to rescue a ball.
- Avoid
- Standing too close. The rebound arrives before the racket is ready and the swing shortens into a jab instead of a stroke.
8. Alternating forehand and backhand wall rally
Same distance and same ball as the previous drill, once the single-side version is comfortable.
Alternate sides on every contact: recover to a central position after each shot, prepare early and adjust with small steps.
Aim to keep the rebound landing inside a predictable working area rather than spraying it wide.
- Cue
- Move your feet to the ball and turn the shoulders; do not stand still and reach across your body.
- Target
- Ten alternating contacts in a row with a recovery step between each one.
- Avoid
- Rooted feet and a reaching racket arm, which produces contact behind the body and a rebound you cannot control.
9. Wall-volley blocks
Stand at a safe distance from the wall, far enough that a mishit does not come straight back at your face. Begin with a foam or low-compression ball.
Meet the rebound before it bounces with a compact block. Keep the racket head up and the movement short.
Work in sets of ten clean contacts rather than chasing speed.
- Cue
- Racket in front and above the wrist, elbow slightly away from the body, no backswing past the shoulder.
- Target
- Three sets of ten clean blocks with no swing beyond the shoulder line.
- Avoid
- Swinging at the volley. Extra speed against a wall comes straight back at you and the rally falls apart.
10. Push-volley target drill
Mark a target area on the wall with removable tape, or set up a separate target that will not damage the surface.
Play controlled push volleys towards the target and record how many of ten attempts hit it while leaving you able to handle the next rebound.
Keep the same distance across sets so the score means something.
- Cue
- Against a fast rebound, block and let the ball do the work. Against a slow, easy one, push through with the body rather than adding wrist.
- Target
- Six of ten on target with the next rebound still playable.
- Avoid
- Counting a hit that leaves you scrambling. A target hit only counts if the rally could carry on.
Blocking a fast rebound is closer to a net exchange than a groundstroke; our guide to padel reflexes covers what happens when the ball actually comes from an opponent.
Strength and movement drills
These are general exercise examples, not personalised medical or rehabilitation advice. The muscles they involve, and how padel loads them, are covered in our guide to the muscles padel uses.
11. Lower-body control circuit
A clear two-by-one metre area, stable shoes and a chair if you want support. These are general exercise examples, not personalised medical or rehabilitation advice.
Two rounds of: sit-to-stand or bodyweight squats, supported reverse lunges or split squats, calf raises, and short lateral steps.
A starting range of 8 to 12 controlled repetitions per exercise suits many people, but adjust to your own ability and stop short of a rep you cannot control.
- Cue
- Keep the knee tracking over the middle of the foot, and change direction with the whole foot planted rather than rolling onto the edge.
- Target
- Two full rounds where every repetition is completed at the same speed as the first one.
- Avoid
- Chasing higher numbers as the form drops. This circuit builds general leg strength and control; it will not add power to your shots on its own.
12. Trunk and upper-body circuit
A mat, a resistance band and a solid anchor point such as a closed door attachment.
Two rounds of: dead bugs or bird dogs, short side-plank holds, resistance-band rows, and light band rotations with the elbow kept close to the body.
Hold the planks for a time you can complete without the hips dropping. Fifteen to 20 seconds is a common starting point.
- Cue
- Move the limbs while the trunk stays still. In the rows, pull the shoulder blade back before the elbow moves.
- Target
- Two rounds finished with the same posture you started with.
- Avoid
- Treating these as a cure for pain or a guarantee against injury. They support general trunk and shoulder control, nothing more. Persistent pain needs a proper assessment, not another set of dead bugs.
Ready-made sessions
Two versions of the same material. The short one is designed to be quiet; the long one assumes you have a wall available.
Quiet 15-minute apartment session
| Minutes | Block | What you do |
|---|---|---|
| 2 | Gentle movement and joint preparation | Easy walking on the spot, ankle and hip circles, slow shoulder rotations. |
| 3 | Racket taps | Drill 1: one face, then alternating, in 30-second rounds. |
| 3 | Shadow groundstrokes | Drill 3: slow forehands and backhands, filming one set if you can. |
| 3 | Split-step and marker movement | Drills 4 and 5 combined in short rounds. |
| 4 | Controlled strength work | One round of drill 11, then one round of drill 12. |
Full 30-minute home session
| Minutes | Block | What you do |
|---|---|---|
| 5 | Progressive preparation | Easy movement, then joint circles, then a few slow shadow swings at half speed. |
| 5 | Racket and ball control | Drills 1 and 2. |
| 8 | Wall drills | Drills 7 and 8, then 9 and 10 if the space allows. |
| 6 | Footwork | Drills 4, 5 and 6 in rotation. |
| 6 | Strength and trunk work | Drills 11 and 12, two rounds each. |
How to measure progress
Write down a number at the end of each session so the next one has something to compare against:
- Your best number of controlled racket taps in one round.
- Consecutive wall contacts before you lose control.
- Target hits out of ten attempts at the same distance.
- Whether you can alternate forehand and backhand without losing balance.
- How many footwork rounds you finish with a clean recovery to the centre.
- Quality repetitions completed without pain or a drop in form.
Change one variable at a time. Add time, add speed, shrink the target or make the sequence less predictable, but not all of them in the same session, or you will not know which change caused the drop in quality.
What still needs a court
The following belongs in your next session on court, not at home:
- Reading the back and side glass.
- Judging lob height and depth.
- Choosing between a bandeja and a smash.
- Moving with a partner as a pair.
- Defending against real pace.
- Choosing shots against particular opponents.
- Learning or correcting technique with a qualified coach.
If you want a checklist of what to look for once you are back on court, our guide to common padel mistakes matches symptoms to corrections.
Frequently asked questions
- Can you practise padel at home without a court?
- Yes, in parts. Ball feel, compact swing shapes, first-step movement, lateral recovery and general strength all work at home. Glass rebounds, live lobs, overheads, partner movement and tactical decisions do not.
- What equipment do you need for padel training at home?
- A racket and a foam or low-compression ball cover most of the quiet drills. Add three freestanding markers for footwork, a mat and a resistance band for strength work, and removable tape if you want a wall target. That's the whole list.
- Can you hit a padel ball against a wall?
- Only against a solid, damage-resistant wall in a safe area, and only where the noise and impact are acceptable. Indoors, use a foam or low-compression ball and make sure you have enough space in front of the wall to react comfortably.
- What is the best quiet padel drill for an apartment?
- No single drill wins for everyone. Shadow groundstrokes are silent and need only a racket, racket taps with a foam ball build ball feel, and a lower-body circuit needs almost no space. Pick the one that suits your ceiling height, your floor and your neighbours.
- How often should you train for padel at home?
- Use short sessions often enough that the movements stay controlled. Two or three sessions a week can work alongside court time, but reduce the frequency if fatigue changes your balance, contact or form.
- Can you practise padel volleys at home?
- Yes, if you have a suitable wall. Block the rebound with a short movement, racket head up and contact in front. Without a wall you can still rehearse the block position and the ready posture without a ball.
- Can you practise padel serves indoors?
- You can rehearse the underarm service motion and the move forward afterwards without hitting a ball. Do not hit full-speed serves indoors. The padel serve is struck at or below waist height, so there's no overhead motion to practise.
- What strength exercises are useful for padel?
- General lower-body work such as squats, split squats and calf raises, plus trunk work such as dead bugs, bird dogs and side planks, and band rows and light rotations for the shoulder. These are general examples, not a prescription for any individual.
- Can home training improve reaction time?
- Cued split-step drills can sharpen how quickly you start moving from a ready position, but they don't reproduce reading an opponent's swing. That part is learned on court against real shots.
- Can home training replace court practice or coaching?
- Home drills help you practise contact and movement between court sessions. Wall play, tactics and coached technique changes still need work on a court.
Sources
- LTA Padel — Six padel tips for beginners
- LTA Padel — Padel warm-up exercises
- LTA Padel — Training tips to improve your padel skills
- LTA Padel — How to play padel forehands and backhands
- LTA Padel — Padel volley tips and techniques
- LTA Padel — How to serve in padel
- NHS — Physical activity guidelines for adults aged 19 to 64
Related reading
- Muscles padel works
Padel drags your whole body into the point: lunges, side-shuffles, rotation, and a racket swing at the end of it. Here's which muscles actually do the work, and where court time alone leaves gaps.
- Padel reflexes
Seven drills that build anticipation, split-step timing, volleys, glass-rebound reading and quicker decisions in real points.
- Padel injuries
Which padel injuries show up most, what the research says about your odds, how to cut the risk, and how to get back on court without redoing the damage.