
Padel racket protector: should you fit one?
That little scrape by the back glass might tell you more than the packet does.
GuidesBy PadelFormat Editorial TeamPublished 7 min read
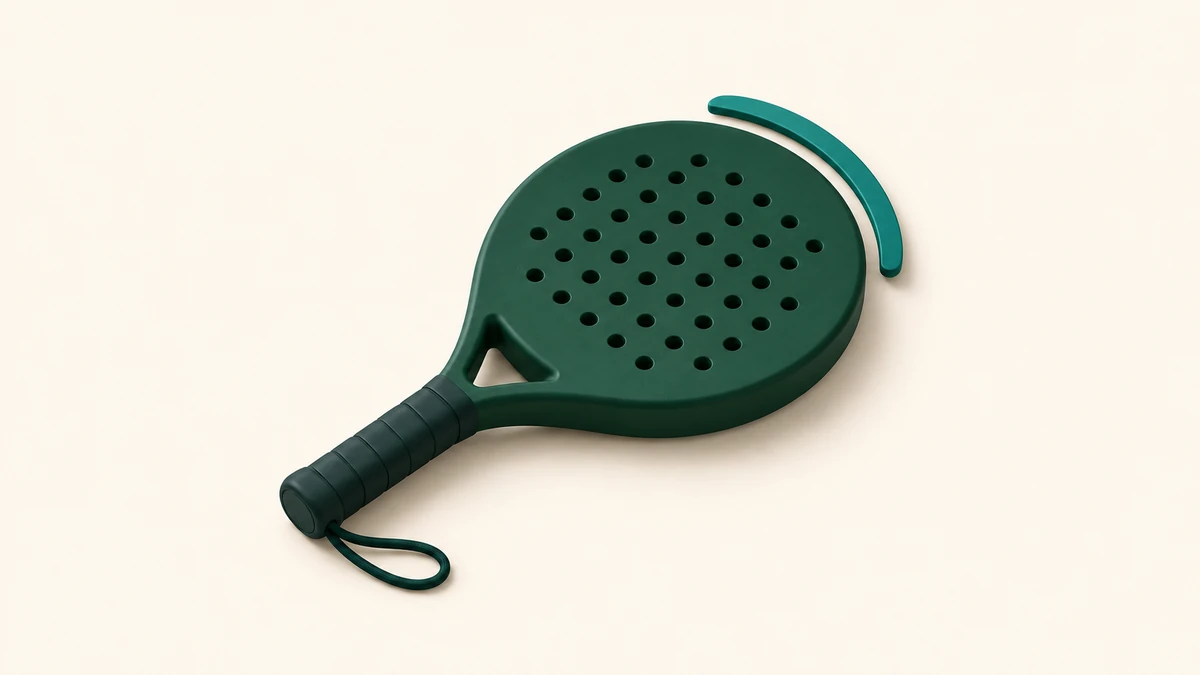
Fit a padel racket protector if you keep scraping the same exposed part of the rim and can find a strip that fits it. Leave the racket alone if the factory guard already covers that spot or all you have is an old mark that hasn’t got any worse. If you’re looking at a possible crack, stop there: covering it makes the damage harder to see.
Takeaways
- Check where the racket actually touches the glass, fence or floor before buying anything. A strip only covers the patch it sits on.
- Find out whether the listed weight is for one strip, the whole pack or a replacement bumper. Check the fit before peeling off the backing.
- If you like how your racket moves now, compare the same easy volleys and returns before and after fitting. Keep the grip and other accessories the same.
On this page
Start with the mark on your racket
Picture a low ball dying by the back glass. You get it up, hear a little scrape and find a dull patch on one shoulder of the racket, just off the top. That tells you more about where to put a strip than the photograph on the packet. The centre of the crown might be spotless. Covering it will add something to the racket without covering the bit you keep catching.
Put the racket in good light and turn it slowly. Look at the crown, both shoulders and the join between the rim and each face. Check whether there is a separate bumper or printed trim. A superficial scuff you can see clearly is a different prospect from a line that might run into the face, a loose section of guard, or a change in feel after a knock. A photo in side light gives you something to check against after the next match. It can’t tell you what’s happening under the finish.
| What you find | What to try | What would change your mind |
|---|---|---|
| One old scuff, no fresh marks | Keep playing as you are. Take a photo if you’re unsure. | New marks appear in the same spot after normal play. |
| Repeated light scrapes on exposed rim | Check a compatible strip covers that patch without climbing onto the face. | The strip lifts on the curve or needs to cover holes to stay put. |
| The existing bumper gets the marks | Keep the guard that’s doing the job. Ask about the exact replacement if it separates. | The bumper is damaged or loose; a second strip over it still leaves a loose layer underneath. |
| Possible crack, loose material or sudden change after a knock | Photograph it and ask the seller or maker to assess it before modifying it. | Follow their assessment. Tape isn’t a repair or an inspection. |
Don’t rub the racket on the glass to reproduce a mark. If it’s clearly a surface mark but you don’t know where it came from, play normally and have another look. If you’re trying to work out whether an existing mark or a change in feel is more than cosmetic, start with the racket inspection guide.
Check the fit before you peel anything
Find your exact racket model and year. Then check what the accessory is: a thin adhesive strip, sections of tape you can fit individually if the maker allows it, or a shaped bumper for a particular frame. “Padel protector” can describe all three. A listing for a shaped guard might look convincing from overhead and still fit a completely different rim.
Hold the protector against the edge with its backing still on. Start with the part that gets marked. Does the strip follow the bend without forcing its edges upwards? Does it sit on the rim with the edges clear of the hitting face and holes? Check the two shoulders individually, especially if the strip has a moulded profile. If it can’t lie flat where you want it, the packet hasn’t failed you. It has just saved you from sticking it on.
Here’s a hypothetical example. Two players have the same scrape just off the top. One has a clean, continuous rim; the other has a replacement bumper that matches a specific frame shape. A strip over the first racket’s exposed patch may fit. On the second, the fact that a shaped bumper fits a different model from the same brand tells you nothing useful. Varlion’s Prisma Plus Bumper, for example, is listed only for its prism-frame rackets. It’s an example of a compatibility restriction, not a recommendation for your racket.
Follow the instructions for the exact strip and racket. Don’t sand the finish, reach for a solvent or improvise with heat to make a poor fit stick. If the racket already has a loose part, or you may need a warranty assessment, stop before you add or remove anything. A dated photo of what’s there now is easier to assess than a strip over a mark you can no longer see.
Find out what the quoted weight includes
STIGA’s black two-pack lists 6 g for each protector. The label describes two pieces in the pack; it doesn’t mean you fit both or add 12 g to one racket. Padelnation’s three-piece Kitkaton lists 1.1 g per section: 2.2 g for the maker’s two-section arrangement or 3.3 g for all three. It covers less of the rim with two. A 13 g shaped bumper, such as Varlion’s example above, is 13 g for the part. If it replaces a bumper of unknown weight, you don’t know the change to the whole racket yet.
These are maker specifications for those exact accessories. They aren’t test results, a combined sample of protectors on the market, or a promise that a given strip will suit your frame. Three quoted weights are enough to spot the shopping mistake: the numbers only make sense once you know what you would actually fit or replace.
Put your racket on a kitchen scale in its usual playing set-up, with the strap completely supported by the racket or scale. Record the reading before and after, with the same overgrip, on the same hard level surface. Repeat the placement if the display jumps. A scale that reads whole grams is a useful check for a bigger change; don’t report the difference between two strips to a tenth from that display.
The added mass sits away from your hand. In a quick exchange that can matter more to you than the small change in total grams suggests. It doesn’t let anyone promise that you’ll feel a difference. If you want to see why the position matters, the five-gram examples hold the added weight constant and move it along the racket.
Use the next session to decide whether to keep it
If there’s no hurry, make the first comparison before fitting. Ask your partner for a few gentle forehand and backhand volleys at roughly the same height, then a few manageable returns. Use familiar balls and take a moment to get warm. Notice whether you can get the face ready before contact and whether you keep missing the same side. There’s no need to count winners against a basket of obliging feeds.
Do the same sequence after fitting, ideally with the same partner and at a similar pace. A strip can’t explain every late volley: harder feeds, a new grip and tired legs all make the comparison harder to read. If one volley feels odd, repeat it. If the racket now feels slower on both sides on balls you normally handle, decide whether you still want that coverage. If you’re happy and the strip stays flat, you have a reason to keep it. If it curls, shifts or starts catching the edge of your fingers, follow the maker’s removal advice instead of pressing a new strip on top.
Next time you put the racket in the bag, look at the photo you took before fitting. Has the protector taken the scuffs where they used to appear? Is the rest of the rim still clear? That’s enough to judge whether you covered the right patch. It won’t tell you how much longer the racket will last, and it doesn’t need to.